

Quick and proper removal of a tick from your dog can protect them from serious diseases. If you’re wondering how to take a tick out of a dog safely, discover proven steps and common mistakes to avoid. With this comprehensive guide, you’ll learn how to act step by step and what to watch for after removal.
Table of Contents
- Why Quick Tick Removal in Dogs is Important
- Preparing Tools for Tick Removal
- Step by Step: How to Remove a Tick Correctly
- What to Avoid When Removing a Tick from a Dog
- Symptoms of Infection After a Tick Bite
- When to See a Vet with Your Dog
Why Quick Tick Removal in Dogs is Important
Removing a tick quickly is crucial because it minimizes the risk of serious tick-borne diseases. Ticks don’t transmit pathogens immediately after attaching – usually it takes several hours, sometimes over a day, for transmission to occur. The shorter the tick remains on your dog, the lower the chance of diseases like Lyme disease, babesiosis, anaplasmosis, or others. Fast action—spotting a tick while petting, brushing, or after a walk—has a real impact on your dog’s health. Dogs won’t tell you when they’re feeling unwell, making prevention especially important. Leaving a tick on the skin for hours or days also increases the risk of large blood meals and the injection of saliva carrying viruses, bacteria, and protozoa, especially in dogs with sensitivities or compromised immune systems. Even one overlooked tick can have serious health consequences. Delaying tick removal increases the risk of infection and allergic reactions, as some dogs react to tick saliva with intense itching, swelling, and redness. This can cause further scratching or licking, leading to secondary infections, abscesses, or chronic wounds that require long treatment. Ticks that remain on the skin too long can die and dry up, making the head and mouthparts more difficult to remove, increasing the risk of leaving tick fragments behind – causing chronic inflammation or painful lumps sometimes mistaken for tumors. The sooner you remove a tick, the easier and safer it is for your dog.
Prompt removal also helps with your dog’s comfort and wellbeing. Ticks feeding in sensitive areas—ears, groin, between toes, or muzzle—can cause pain and discomfort, making dogs restless, irritable, or even aggressive when touched. Quick owner response minimizes distress and avoids negative associations during grooming or future vet exams. Letting a tick drop off naturally is risky; the tick can fall off at home and infect other pets or family members, as many tick-borne pathogens are dangerous to humans as well. Dispose of ticks safely: burn, immerse in alcohol, or seal tightly before discarding. Early removal also allows easier monitoring of the bite area and your dog’s overall condition. Your vet will also appreciate knowing exactly when and where the tick was attached for diagnosis if needed. Quick tick removal isn’t just about “getting rid of the problem” – it’s proactive care that reduces the risks of complications and makes later treatment easier.
Preparing Tools for Tick Removal
Proper tool preparation ensures safety and effectiveness. Assemble and disinfect everything before you begin. Key tools include a tick removal hook (lasso or tick “spoon”), a tick tweezers with narrow curved tips, or a special plastic tick remover. Specialty tools designed for ticks allow safe and close-to-skin grip, minimizing the risk of crushing the tick’s body—which could inject more saliva and pathogens. Ordinary cosmetic tweezers aren’t ideal, as they’re less precise and can squeeze the tick. Prepare more than one tool if you regularly take your dog into tick-prone areas; small nymphs and larger ticks may need different grips. Ensure tools are clean and undamaged.
Hygiene is essential. Get disposable gloves to avoid direct skin contact with the tick—especially if you have small cuts. Prepare an antiseptic for your dog’s skin (chlorhexidine-based spray, gentle pet-safe alcohol) and avoid strong preparations that sting. Have sterile pads or cotton balls ready, both for cleaning and to apply antiseptic. Prepare a small container or resealable bag to discard or store the tick safely; this allows safe disposal (alcohol or insecticide) or storage for possible disease testing. For anxious dogs, a favorite blanket, treats, and collar or harness can help with gentle restraint, and a muzzle may be useful for nervous pets. Choose a well-lit spot—natural light, desk lamp, or headlamp are ideal. Wash your hands before starting. Disinfect reusable tools thoroughly. If you’re prepared, you’ll act quickly, precisely, and safely when you spot a tick.
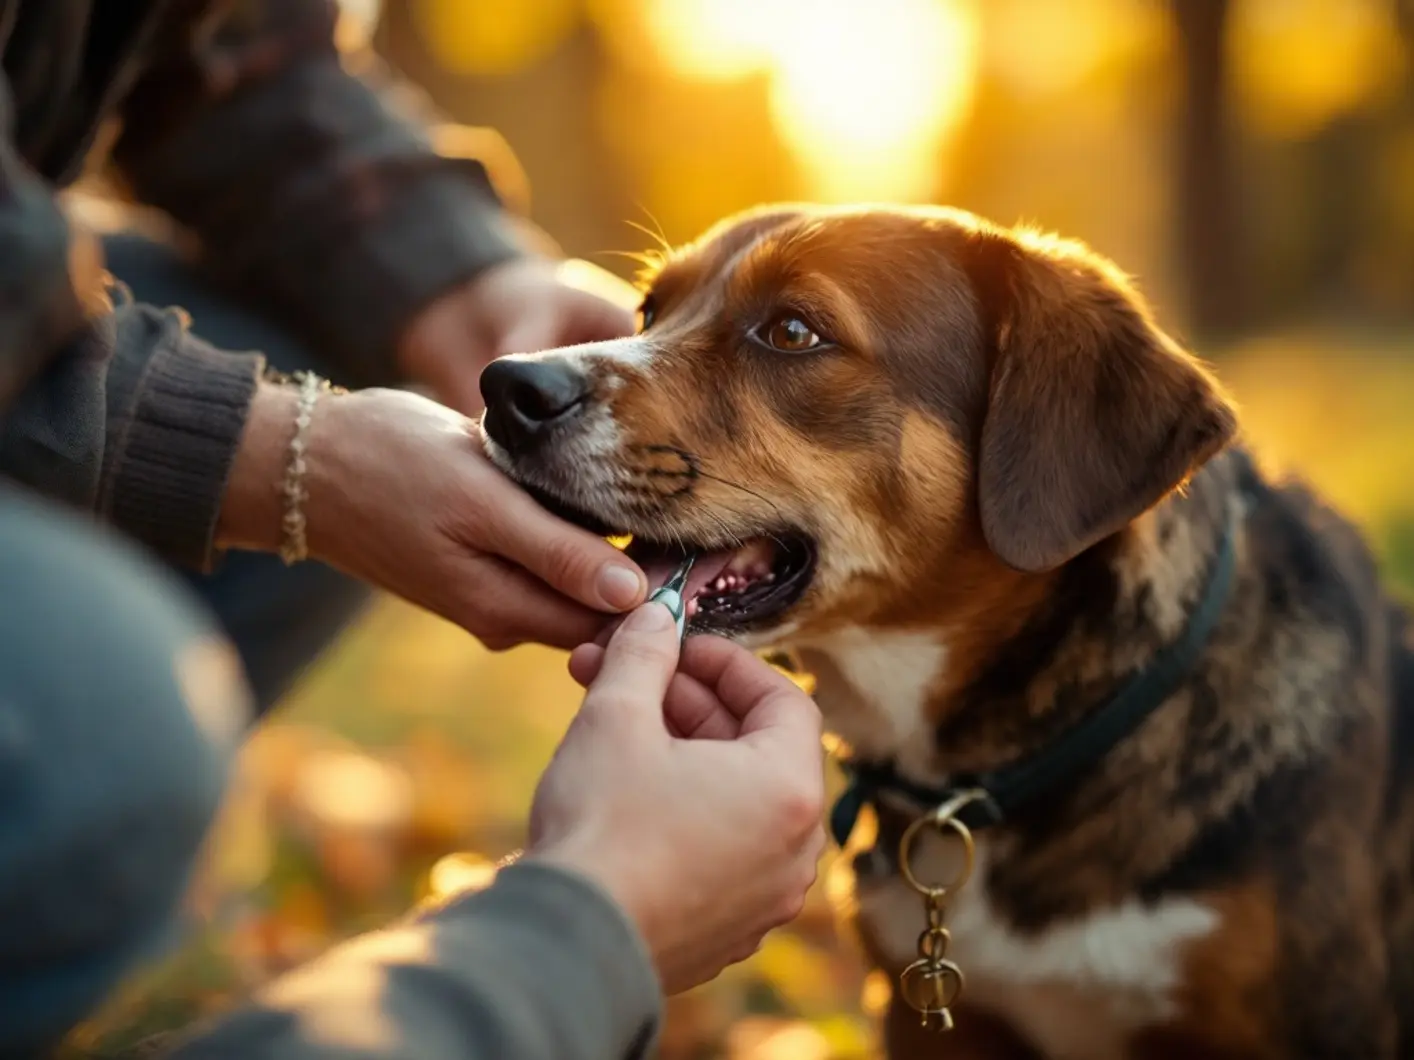
Step by Step: How to Remove a Tick Correctly
First, calmly prepare both yourself and your dog. Have gloves, the right tick hook or tweezers, and antiseptic ready. Choose a bright place and position your dog comfortably with access to the bite. For nervous or active dogs, a helper is beneficial. Wear gloves and search common tick areas: ears (even inside), neck, armpits, groin, between toes, muzzle, and eyes. Once found, part the fur so the bite is clearly visible. You may need to trim long fur around the tick. Don’t apply any substances (oil, butter, alcohol, etc.), as that can make the tick regurgitate, increasing pathogen risk. Use a thin hook or precise tweezers for small ticks; use larger hooks or tick spoons for engorged ticks. Disinfect tools before use.
Insert the hook or “spoon” as close to the skin as possible to grip the tick’s base, not its body. Gently lever and rotate (usually 1–3 slow turns in one direction) to loosen and remove the tick whole, including the head. Tweezers should grip at the head, not the body; pull slowly upwards or with a slight twist, never yank or force. If it resists, adjust grip and try again gently. Place the tick in your prepared container—never squish it with your fingers. Optionally, keep it for future testing. Carefully check the bite area afterward with good lighting or even a magnifier—make sure nothing remains. A minor scab or redness is normal briefly after removal. If you see apparent “head” fragments, don’t attempt digging it out with needles or sharp tools; instead, contact your vet. Clean the area with antiseptic and let it dry. Check for more ticks—they often come in groups. Discard gloves after and wash your hands. Observe your dog in the coming days—watch for redness, swelling, oozing, or increased licking, as well as general symptoms like fever, lethargy, lameness, appetite loss—these may indicate tick-borne illnesses and require prompt vet attention.
What to Avoid When Removing a Tick from a Dog
Equally important as knowing what to do is knowing what to avoid. Don’t use household “tricks” like oil, butter, gasoline, alcohol, perfumes, or other irritants—these can cause the tick to regurgitate, increasing infection risk. Never burn a tick with a match or lighter as it’s dangerous and ineffective. Don’t attempt removal with fingers—this risks crushing the tick and pushing its contents into the wound, or leaving the tick’s mouthparts lodged in the skin. Avoid fast or erratic movements; twisting, jerking, or pulling roughly can leave tick parts behind and injure the skin. Don’t use sharp cosmetic tweezers that grip at the abdomen instead of close to the skin. Removing a tick without gloves is also strongly discouraged—you risk direct contact with tick fluids, especially if you have any cuts on your hands.
Avoid rushed removal outdoors or when conditions aren’t right, as this can result in incomplete removal or accidental squashing. Repeated “tries” without proper technique only stress your dog and increase injury risk. Restraining your dog too forcefully or harshly will cause fear or even cause escape attempts, bites, or injury. Failing to disinfect the bite area leads to secondary infections, especially if your dog licks or scratches. Never dig into your dog’s skin at home with sharp objects—this is painful and may worsen wounds. Consult your vet if any part of the tick remains. Never discard live ticks carelessly—dispose of them securely in alcohol or as directed by your vet. Always observe your dog after tick removal for warning symptoms. And remember: successful tick removal doesn’t eliminate the need for continued tick prevention—use anti-tick products to prevent future infestations and risks.
Symptoms of Infection After a Tick Bite
After proper tick removal, carefully monitor your dog’s health for days or weeks, as tick-borne diseases often take time to show. Early warning signs can include sluggishness, less playfulness, reluctance on walks, faster fatigue, appetite changes, withdrawal, or seeking more attention. Monitor their temperature—fever over 39°C, chills, rapid breathing, or fast pulse are classic signs of inflammation or infection. Some dogs show sudden weakness, trouble jumping, stiffness after sleep, or lameness that moves between legs—these are typical of Lyme disease or other tick-borne joint inflammations. Any lameness that reoccurs or persists more than a couple days needs a vet visit. Redness, small lumps, or scabs at the bite are common and usually fade in days, but rapid swelling, oozing, intense itching, or growing skin changes can indicate secondary bacterial infection or allergic reaction. Unlike humans, dogs rarely get the “bullseye” rash of Lyme disease, so absence of that does not mean your dog is safe. Watch also for deteriorating coat, intense shedding, bald spots, or unpleasant skin odor—these can signal immune problems worsened by tick infection.
Babesiosis is one of the most dangerous tick-borne diseases in dogs—it can develop rapidly and requires urgent vet attention. Classic symptoms: high fever, lethargy, breathing issues, and tea- or brown-colored urine (from blood cell breakdown). Look for pale or yellow gums, vomiting, diarrhea, or even unconsciousness in severe cases. Anaplasmosis and ehrlichiosis can cause bleeding problems—look for tiny red/purple spots, nosebleeds, blood in urine or stool, or prolonged bleeding from minor cuts. Swollen lymph nodes or sensitivity in the abdomen may signal enlarged spleen. With Lyme disease, neurologic symptoms can appear: unsteady gait, poor coordination, painful spine, seizures, paralysis, tilting head, or eye movements. Changes in mood are just as important: irritability, aggression, withdrawal, excessive sleepiness, or restlessness. Chronic cases cause wasting, recurring fever, declining energy, and susceptible to secondary infections, such as recurring ear or skin inflammation. Any such symptom—even weeks after a tick bite—should lead to prompt vet consultation for appropriate investigation and treatment.
When to See a Vet with Your Dog
Always seek veterinary help if you have any trouble removing the tick or notice worrisome symptoms afterwards. If you can’t remove the whole tick, if it’s very small or embedded in a tricky area (inside the ear, eye corner, groin, between toes) or your dog is too stressed, see a vet instead of risking injury or incomplete removal. If you suspect the mouthparts remain (such as a black dot or firm lump), a vet can remove it safely and apply appropriate medications. Any severe local allergic reactions—major swelling, red skin, intense itching, constant licking, or sudden hives—require medical care. In rare cases, anaphylactic shock can occur: sudden weakness, pale gums, rapid breathing, vomiting, diarrhea, or collapse need immediate emergency attention. Dogs with chronic illnesses (immune issues, cancer, diabetes, liver, kidney problems), puppies, seniors, or pregnant or nursing females also need extra caution and a lower threshold for a vet visit. Even minor behavioral changes can be important in these pets.
Be on alert for general symptoms suggestive of tick-borne illness for weeks after a bite: lethargy, decreased play, prolonged sleep, hiding, loss of appetite or thirst, fever, shivering, stiffness, reluctance to walk, or shifting lameness. Specific signs like dark (tea-colored) urine, pale/yellow gums, weakness, rapid heart rate and breathing, abdominal pain, or neurological issues (wobbly walk, tremors, head tilt, seizures, or sudden mood change) are emergency signs. Your vet will carry out examinations or blood tests (hematology, biochemistry, serology, blood smears for Babesia, urine tests) to diagnose and treat quickly. Routine checkups may also be worthwhile if your dog gets ticks frequently or you live in a high-risk area—your vet can create a personalized prevention plan (appointments for checking, tick product selection, and perhaps Lyme vaccination), and also teach you the best tick removal techniques using demonstrations, videos, and graphics—helping you respond confidently next time.
Summary
Proper tick removal is key to every dog’s health. Good preparation and technique help prevent serious complications like Lyme disease. Avoid dangerous homemade methods that could harm your pet. Watch your dog closely after removing a tick and note any signs of infection—never hesitate to consult your veterinarian. This way, you’ll help your dog stay healthy and safe.

